The main bulkhead with the chainplate removed. You can see the extra holes in the bulkhead from where the chainplate was moved or relaced in the past. This setup didn't provide much of an attachemnt structure to keep the mast up.
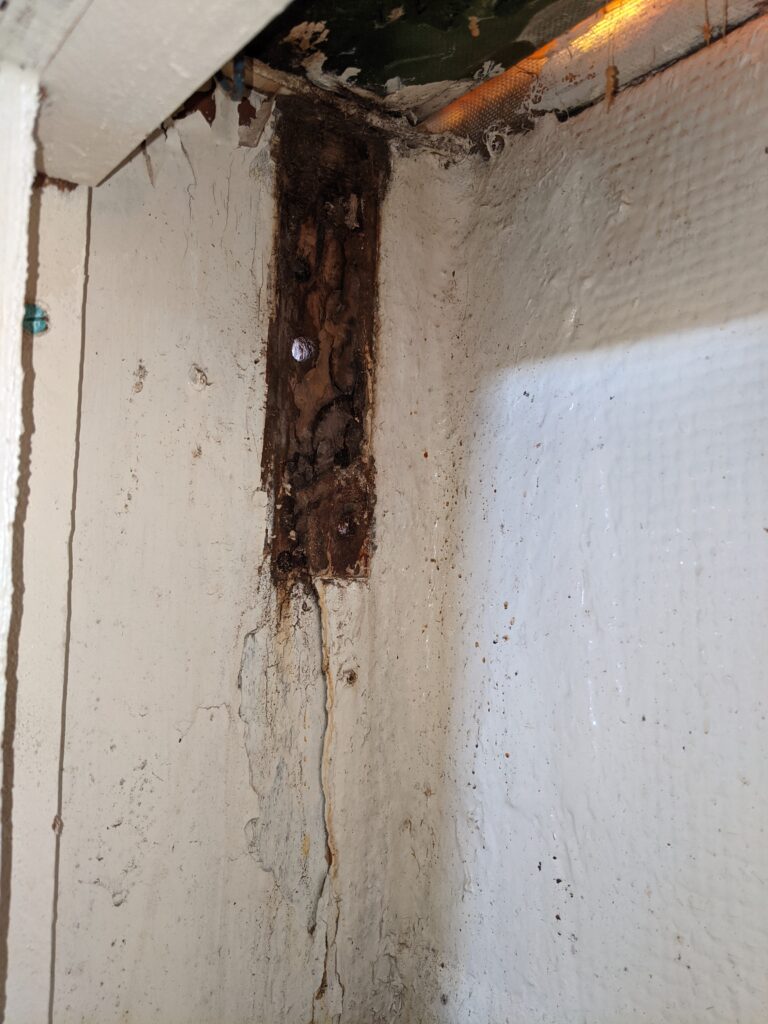
More Water Damage!
After I replaced 3 of 5 chainplate knees, we figured we could do some sailing with the boat. We didn’t push it too hard, but–at the end of the season, I noticed that the chainplate for the upper shroud that attaches to the port side of the main bulkhead had moved upward slightly.
The following spring, I pulled the chainplate out and started to assess the damage and come up with a plan. I wanted to incorporate the repair into the previously replaced and reinforced shelf attached to the aft portion of the bulkhead. I thought it would make a good base to stiffen the structure. I also didn’t want to replace the entire bulkhead, as the rest of the structure was in good condition, and it would be a major undertaking to remove the structure and everything attached to it.
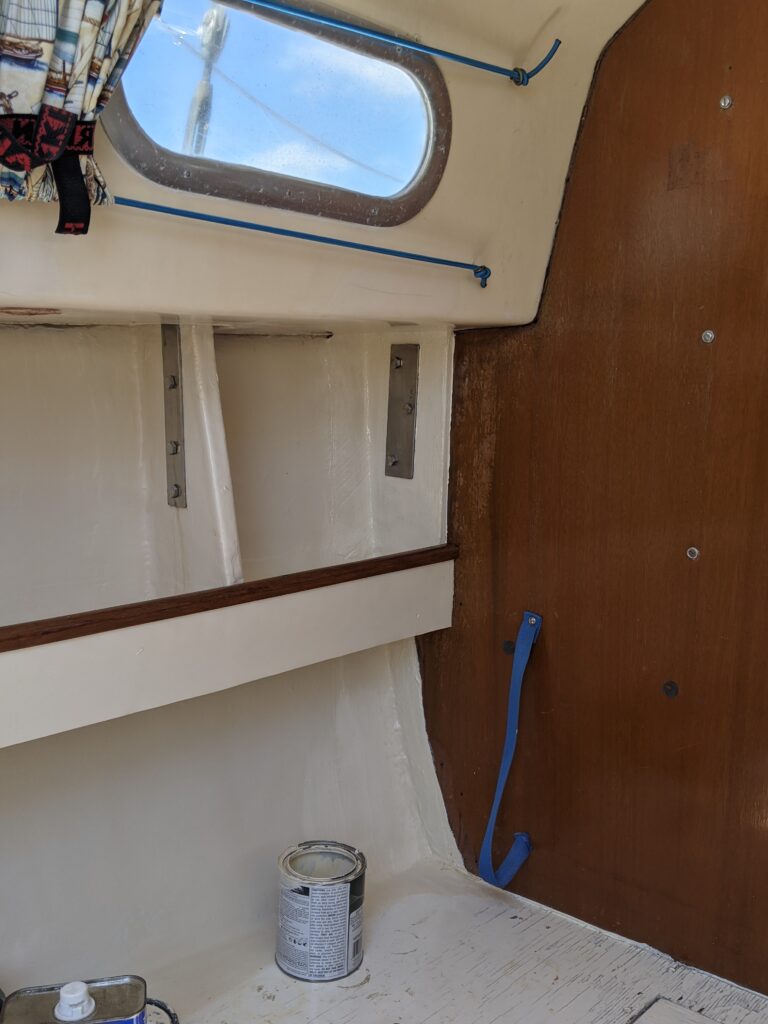
Here's a view of the forward part of the bulkhead. This area is in a locker above the head.
I started by cutting the rotted section out, so all that was left was good solid material. I then ground off all the paint and finish around the repair area.
Here's a view of the forward side of the bulkhead from inside the locker over the head. I haven't ground the paint and fiberglass from this area yet.
A template made to fit in the area where the rotten bulkhead was cut out.
Another template--this one will cover the first replacement piece, overlapping the joint.
Making some templates
I decided to make a filler piece using marine plywood to replace the rotted section of bulkhead. I would then layer a larger piece of plywood over the new section and a portion of the original bulkhead. This overlap should help secure the repaired piece. Butting the larger piece against the cabin ceiling, the hull, and the shelf would also give me plenty of attachment points to fiberglass in.
I’m thinking that it’ll be stronger than the original design, even though there are now three pieces instead of one.
New marine plywood in place and "tabbed" in with biaxial cloth.
The front side of the repair. I coated all the pieces with thickened epoxy resin, then screwed the plywood to the existing fiberglass edges to lock it in place. On top of that, I laid some biaxial fiberglass cloth on to finish the structural part of this repair.
Here'the front side again. I used epoxy thickened with a fairing filler to make a flat surface for the chainplate to sit flush against.
I cleaned out the exposed balsa core from in between the deck, then filled the void with thickened epoxy. Like the other repaired chainplates I've done, I then used modeling clay to form a mold, and made a raised rectangular section around the chainplate hole--the small raised section makes it less likely that water will get into the cabin through the chainplate hole.
Finishing the project
To finish, I laid a few layers of woven fiberglass cloth on top of the new plywood piece. It then got a coat of Total Boat “TotalProtect” barrier coat, followed by some Sherwin Williams enamel paint to match the rest of the interior.
I made a new stainless steel chainplate, then cut the top section off the old plate to use as a backing plate.
Like the Design?
Need help with work on your boat or other project? Or, do you just have some questions or want more information about this project?
If so, feel free to contact me using the “send me a message” form on the homepage, or by emailing me at joe@overthereef.com.