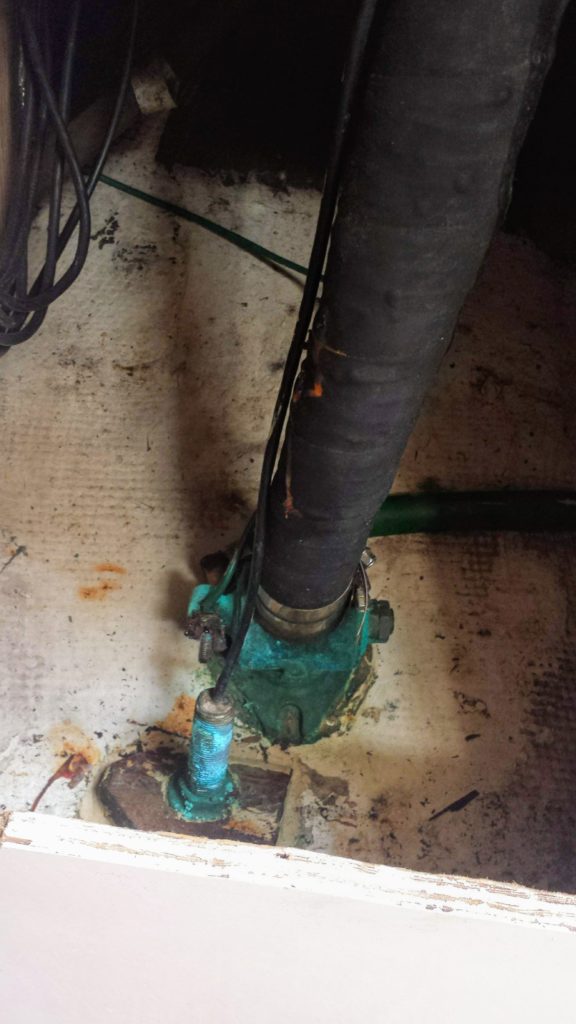
The first job I took on after we purchased “Affinity” was to replace the original seacocks. None of the valves worked anymore–and having working seacocks is a necessity. The original ones were inviting disaster—when I removed the hoses, one of them tore open just from me pulling it off by hand. It would be a little disconcerting to have a rotted out old hose as the only thing keeping the ocean out of our boat.
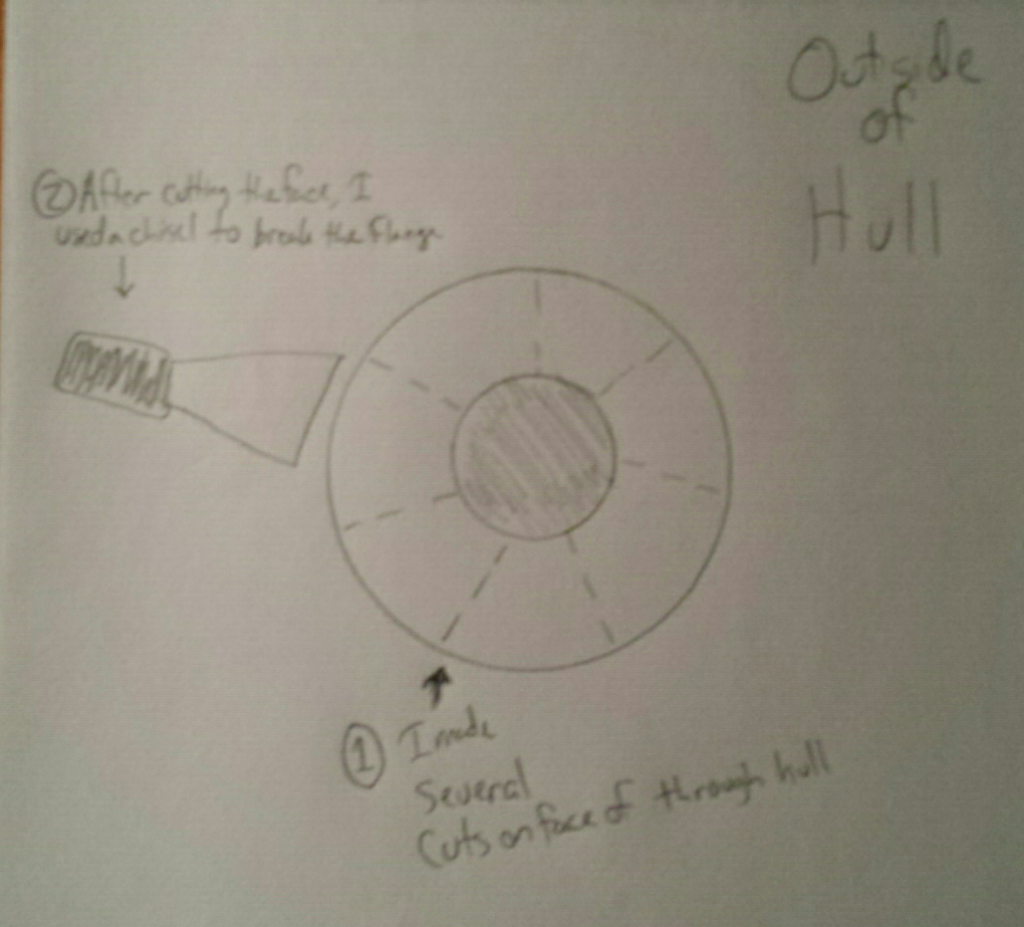
The old valves weren’t through-bolted to the hull, so removal wasn’t very difficult. I used a cordless Ryobi multitool with a carbide blade to cut the flange on the outside of the hull. I cut the flange into sections, then chiseled each piece off, and pressed the freed through hull into the boat.
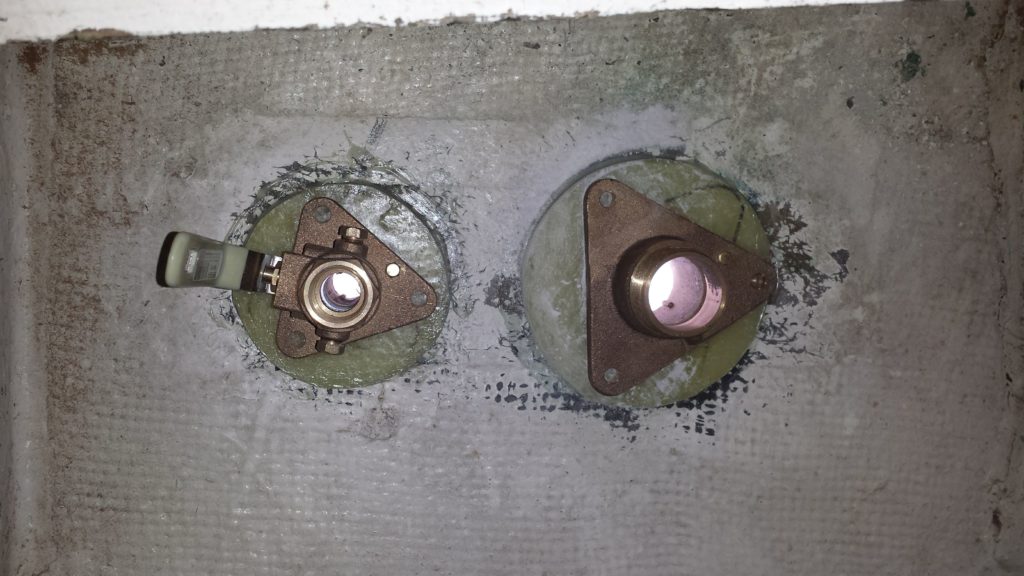
I laid up some fiberglass backing pads at home, then epoxied them in place inside the hull. Next, I used some 5200 sealant on the inside of the flange, and tightened the through hull with a tool I made out of a piece of metal that I ground to size.
I needed to enlarge the hole for the sink drain, so I used a special purpose hole saw bit. The hole saw for the existing hole attaches on the inside of the bit, and acts as a guide for the larger hole saw.
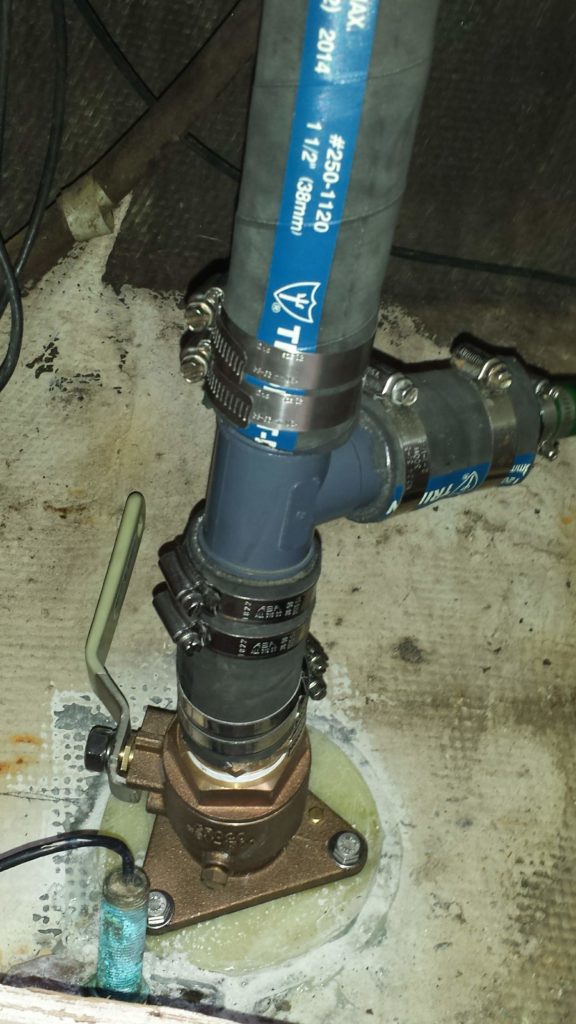
I didn’t want to drill holes to through-bolt the seacock, so I drilled through the backing plate, put some epoxy into the holes, waxed the threads on some bolts (to ease in later removal) and pressed them into the epoxy. We’ll see how it holds up, but I expect that it’ll work fine for our boat.